production blog : Commericial
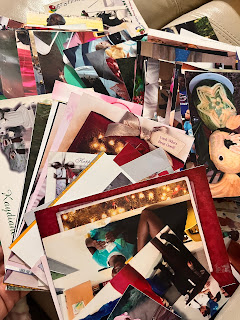
I'm almost ready to begin working on my commercial. I'll start putting it together soon. Today, I took pictures of the printed photos so I can access them through my phone. Because of the glare, I had to switch locations of where I was taking the pictures. At first, I tried taking it on the kitchen counter since it was flat and had good lighting, but there was a glare. I tried blocking the light to avoid a glare, but it made the picture darker. I even tried moving my camera around, but It caused a noticeable shadow. I took the photos on the coffee table, but since the lighting wasn't as good as the kitchen, I had to use a ring light so my photos didn't come out dark. Once I took the pictures, I had to edit and crop them so my background wasn't showing. After I finished, I put all the photos I took on an album. I also decided to include things I like in the commercial so it's not only pictures of me.
I downloaded cap cut to make and edit the commercial. I have seen many people using it, but I never used it before. I was scrolling through at first and just saw a lot of templates for short videos. I clicked the edit button and tried adding photos to see what would happen. There were a lot of effects, so I looked through them. As I was looking through the effects, I thought about how I would put it together and how I would narrow down the number of pictures/ videos I had. I messed around with the transitions and looked through the tutorials they have on the app. I watched a few tutorials and saved the ones I think will help me and the end product. CapCut will be very helpful since I can edit while watching the tutorial.


Comments
Post a Comment